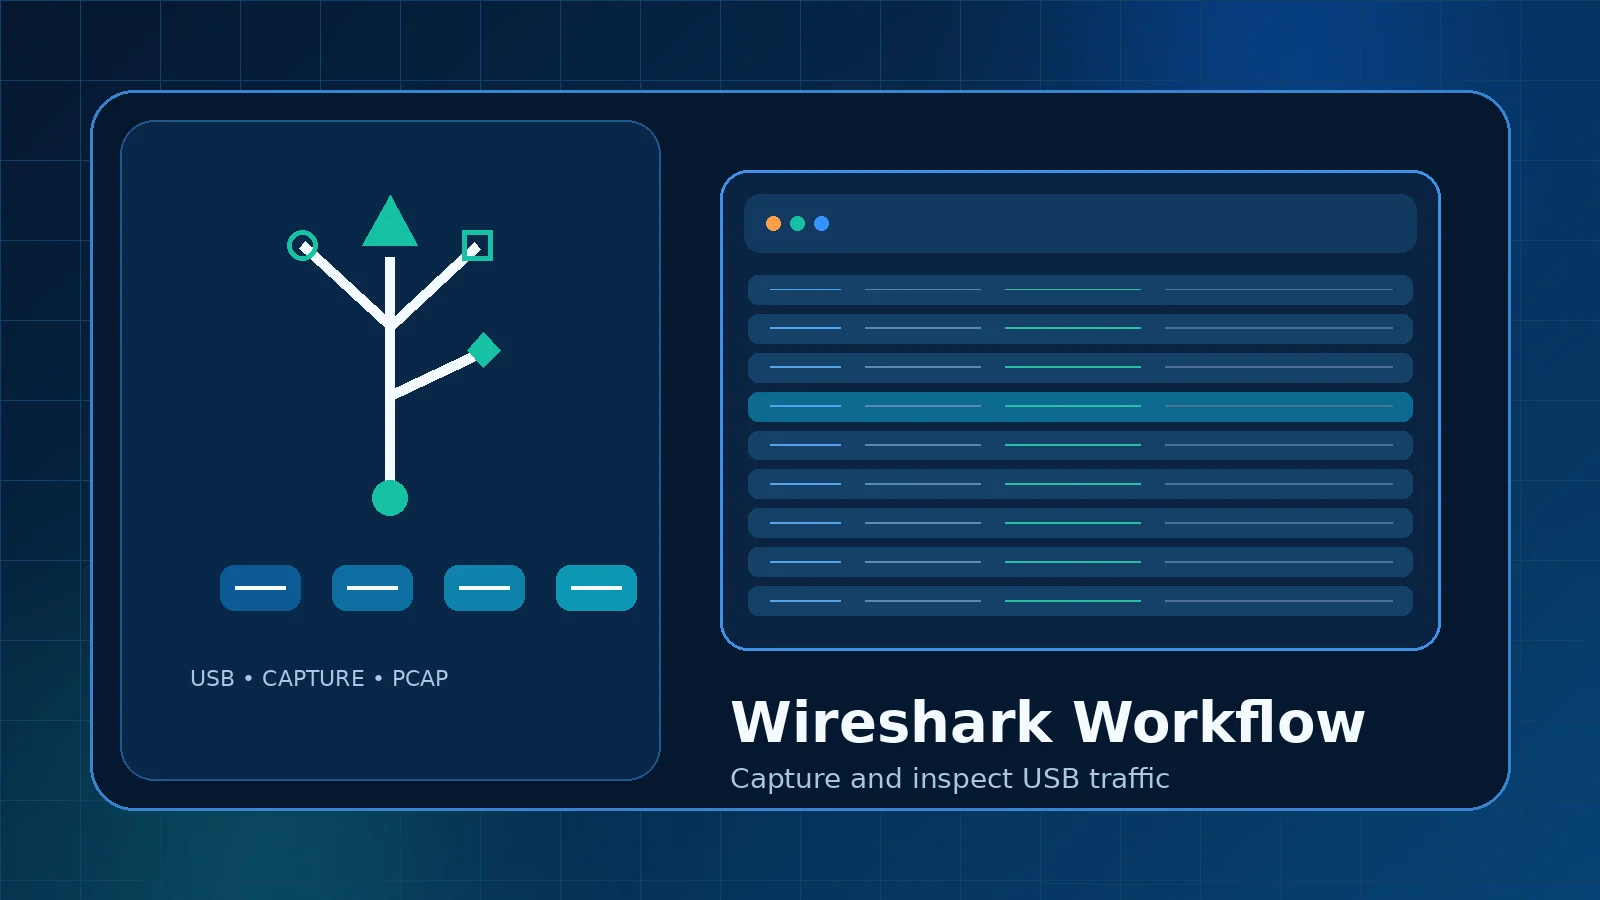
USBPcap works as the Windows capture layer, while Wireshark provides the familiar interface for viewing and dissecting the recorded USB traffic. The useful part is not simply pressing Start. A good capture begins with a clear device, a known USB root hub, and a short action that you can repeat while the recording is active.
This approach produces smaller files, reduces unrelated traffic, and makes it easier to compare what happened before and after a button press, connection attempt, or device command.
Understand the two-part workflow
USBPcap includes a filter driver and a command-line capture utility. Wireshark can expose USBPcap capture interfaces through its external capture integration, giving users a GUI path for starting a session. The captured data is then interpreted by Wireshark using its USB dissectors.
Prepare a clean test
- Close programs that may repeatedly access USB devices.
- Disconnect unnecessary USB hardware when practical.
- Write down the exact action you want to reproduce.
- Avoid capturing sensitive keyboards, security tokens, or storage activity unless the test requires it and you have authorization.
Start the capture in Wireshark
- Open Wireshark with the permissions required to access the USBPcap interface.
- Review the USBPcap interfaces shown in the capture source list.
- Select the interface associated with the root hub that contains your target device.
- Start the capture, perform the test action once, then stop promptly.
- Save the result with a descriptive name that does not expose confidential project details.
When multiple USBPcap interfaces appear
Windows systems commonly expose multiple USB root hubs. A device can move to a different hub when it is plugged into another physical port. If the expected traffic is missing, stop the session and verify the device tree instead of recording every interface for a long period.
Review the first packets
Begin with a narrow time range around the action you performed. Check device addresses, endpoints, transfer types, and request direction. Control transfers often help identify setup activity, while bulk or interrupt transfers may contain the ongoing application data for a device.
Keep a capture notebook
Record the USB port, test action, time, device state, and result. Short notes make repeated captures far easier to compare and prevent confusion when a device changes address after reconnecting.
Common reasons the capture looks wrong
- The selected interface belongs to a different root hub.
- The application generated no new USB activity during the test window.
- The device was reconnected and received a different address.
- The capture included too much unrelated hub traffic.
- The device or driver uses behavior that is not fully represented in the expected dissection.
Finish the session safely
Stop capture before moving or disconnecting hardware. Store the file only where authorized users can access it, because USB captures can contain device identifiers and application data. For public sharing, remove unrelated packets and inspect the file for sensitive content first.